Featured ADV & Overland Products
Installing an ADV decal or any other Adventure Motorcycle decal from WorldCrosser — it as easy as ABC (and D).
Here you go:
A. First clean the area thoroughly with soap and water or rubbing alcohol.
B. Peel the white paper backing off the decal.
(If the sticker clings to the backing, slowly replace the paper backing use a credit card to press/squeegee the decal so it adhere correctly, then try again.)
C. Slowly lower the sticker onto the the desired surface and rub it in place firmly with a squeegee or credit card.
(For best results, wait 2-4 hours before moving to the next step.
Note: once it is in place it can’t be moved so choose your spot carefully.)
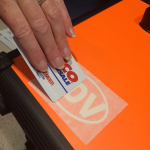
D. Slowly peel the clear transfer tape off at an angle. Be careful not to pull the sticker off the surface. Keep the angle acute or close to surface as not to pull up as this is when the decal could come off surface. If sticker begins to pull away from the surface put back down and squeegee with credit card again and let it sit for up to 24 hours before peeling again.
[alert color=”” icon=””]
Hints:
• When cleaning surface try not to use cleaners, such as windex that may leave a residue.
• Use a pin to poke any air bubbles in the center and push the air out through the hole.
• For best results do not apply a sticker in extreme hot or cold temperatures.
[/alert]
Here is picture guide:
[columns]
[column width=”one-third”]
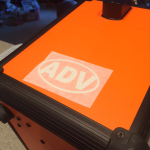
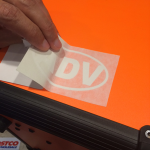 Step 1. Separate two parts of decal and apply to surface.
[/column]
[column width=”one-third”]
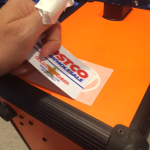 Step 2. Squeegee decal down on surface. Swipe in all directions.
[/column]
[column width=”one-third”]
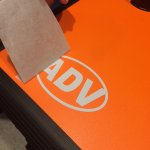 Step 3. Peel off tape from top on an angle.
[/column]
[/columns]
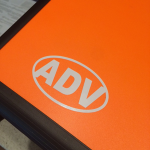
Success! – you have a cool decal on your Adventure / Dual Sport motorcycle now! Your riding buddies will be jealous.

